Wednesday, May 30, 2012

How to make a decoupaged 4th of July wreath

 I'm having so much fun making new decorations for each holiday and this is my latest creation inspired by the book  Mod Podge Rocks!: Decoupage Your World I made for 4th of July.

This wreath was one I originally covered in tiny pine cones and it had lost a few so I decided to recycle it into a new one for summer.


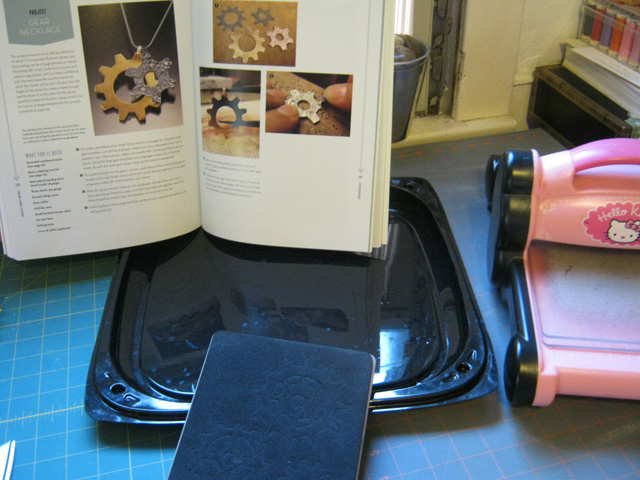
It didn't take long to peal off all the pine cones. I went to the fabric stash and gathered up some red, white and blue fabrics. This wreath project featured in Mod Podge Rocks! was my inspiration.
I liked how cheery it was and the wrapping and decoupage seemed like it would work great with fabric.

I pinned my fabric strips in place and then spread on the Mod Podge to the front and sides. The pins had the added benefit of keeping the wreath elevated. Talk about a crafting twofer!

After the Mod Podge was dry on the 3 sides I spread it on the back taking the pins out as I went and smoothing down the fabric ends.

All that was left to do was glue a few toy army men on and wrap the wreath with a bit of star spangled wire.

If customizing your world by decoupaging with Mod Podge is your thing you will truly be inspired by the book:

 Mod Podge Rocks!: Decoupage Your World
by
Amy Anderson

More about the book from Lark:
"Since 1967, crafters have entrusted their most treasured creations to Mod Podge--the number one, all-in-one glue, sealer, and finish product that's water-based for easy cleanup and totally non-toxic. The popularity of Mod Podge continues to grow, as does its product lineup that now includes Sparkle, Outdoor, Dimensional Magic, and Fabric formulas.

Mod Podge Rocks! features over 40 simple, inexpensive decoupage projects that showcase the versatility of this celebrated product.  Contemporary, fun, and welcoming--just like author Amy Anderson's popular Mod Podge Rocks! website-the book includes everything from home accessories and holiday décor to wearables and jewelry.  Joining Amy herself as guest project designers are some of the hottest names in crafting, such as Cathie Filian and Candie Cooper. A basic section outlines the simple techniques, and each project features beauty shots, easy-to-follow instructions, and how-to photos."

Tuesday, May 8, 2012

How to make a leather and recycled plastic Steampunk style cuff

 Today's latest creation is another in my recycled leather cuff series. I didn't realize it was going to be a series but here is the third one I've made. Go figure. OK so here is how I did this one.
 I scored a party platter at...wait for it...a party of all places. A huge piece of smooth black plastic perfect for die cutting. I trimmed off the groove part around the edge and sent it through the Sizzix die cutter using the Tim Holtz Alterations Gadget Gears Die.


I should also back up a bit and say the inspiration for this whole project came from flipping though the book Hot Connections Jewelry:The Complete Sourcebook of Soldering Techniques and seeing this cool gear necklace but since I'm on a cuff kick that's what I was going to make.


Once the plastic was cut I thought it looked a bit shiny so scuffed it up with a piece of sandpaper.

 Then I sewed the gear on with a JHB Steampunk gear button on the topside of the leather (after cutting a tiny hole for the shank to go through) and a flat button on the back so the shank button wouldn't wobble around too much.
I thin stitched a pair of "D" rings I had cut off an old pair of sneakers to secure the sides of the gear and have them wrap around my wrist.

The cuff's closure is just a bit of Velcro i sewed onto each end.

If you like to make (or be inspired by) modern style jewelry I bet you will love:
Hot Connections Jewelry:The Complete Sourcebook of Soldering Techniques
by
Jennifer Chin

More about the book from the publisher Potter Craft:

"The art of soldering—permanently joining metal components with a torch and solder—can open up a new world of creative possibilities for jewelry makers.

In
Hot Connections Jewelry, award-winning jewelry designer Jennifer Chin guides you through every step, from choosing a torch to basic techniques like sawing, filing, and riveting, as well as more advanced techniques like creating surface textures, setting stones, and using inlay.

With 23 in-depth lessons and 15 stunning projects, as well as inspiring examples from contributing artists,
Hot Connections Jewelry is your essential guide to unleashing your creativity and confidence in jewelry making."


Thursday, May 3, 2012

How to decorate a sombrero for Cinco de Mayo

 As I have shared in previous posts my neighbors are now expecting gate decorations and not wanting to disappoint I bring you my Cinco De Mayo Sombrero decoration! I was hoping to score one at a thrift store that was all fancy and such but no luck. I did find one though that was plain and figured as the crafty gal I purport to be I could work some festive magic on it. Would you say I did?
 First I went to the pom pom trim box and decided on red. I didn't like how the pom poms were attached with two strings so I cut one of each string for each pom pom and pulled the pom pom down to the end so it would dangle as long as possible. I also got out the raffia and sequins and embroidered a "5" and some zig zags and a fan shape like on the mini sombreros I had.
Happy Cinco De Mayo my crafty peeps!
Blog Widget by LinkWithin