


Stitch the two pom pom halves together with the white section together.
Hold the pom pom over the plate and trim the pom pom round.
Tie the pom pom on a bottle of wine.


 Yes, I know it's not even Valentine's Day yet but when I spotted the origami bunny tutorial in Wild and Wonderful Origami: 35 of Your Favorite Wild Animals to Fold in and Instant I just had to try it out right away! So I did. And then I did some more....and well let's just say I made origami bunnies like bunnies make bunnies!
 I used some scrap pink, light blue and light green paper and got so good at these cuties I was walkin' around making them. I decided instead of drawing faces on these guys (the paper that comes with this book is pre-printed with the cute details) but since I made so many...well I thought I'd just draw but then I thought about using a tiny pom pom for the nose.
 Wild and Wonderful Origami: 35 of Your Favorite Wild Animals to Fold in and Instant
 I did a book for Plaid awhile back where all the projects are made with their Knit Wit tool and doodle loom tool. Recently they asked me to make another one for Jo-Ann's with their yarn. And lo-and-behold- whoop, there it is, in the Jo-Ann's sale flyer!!! (top right corner)
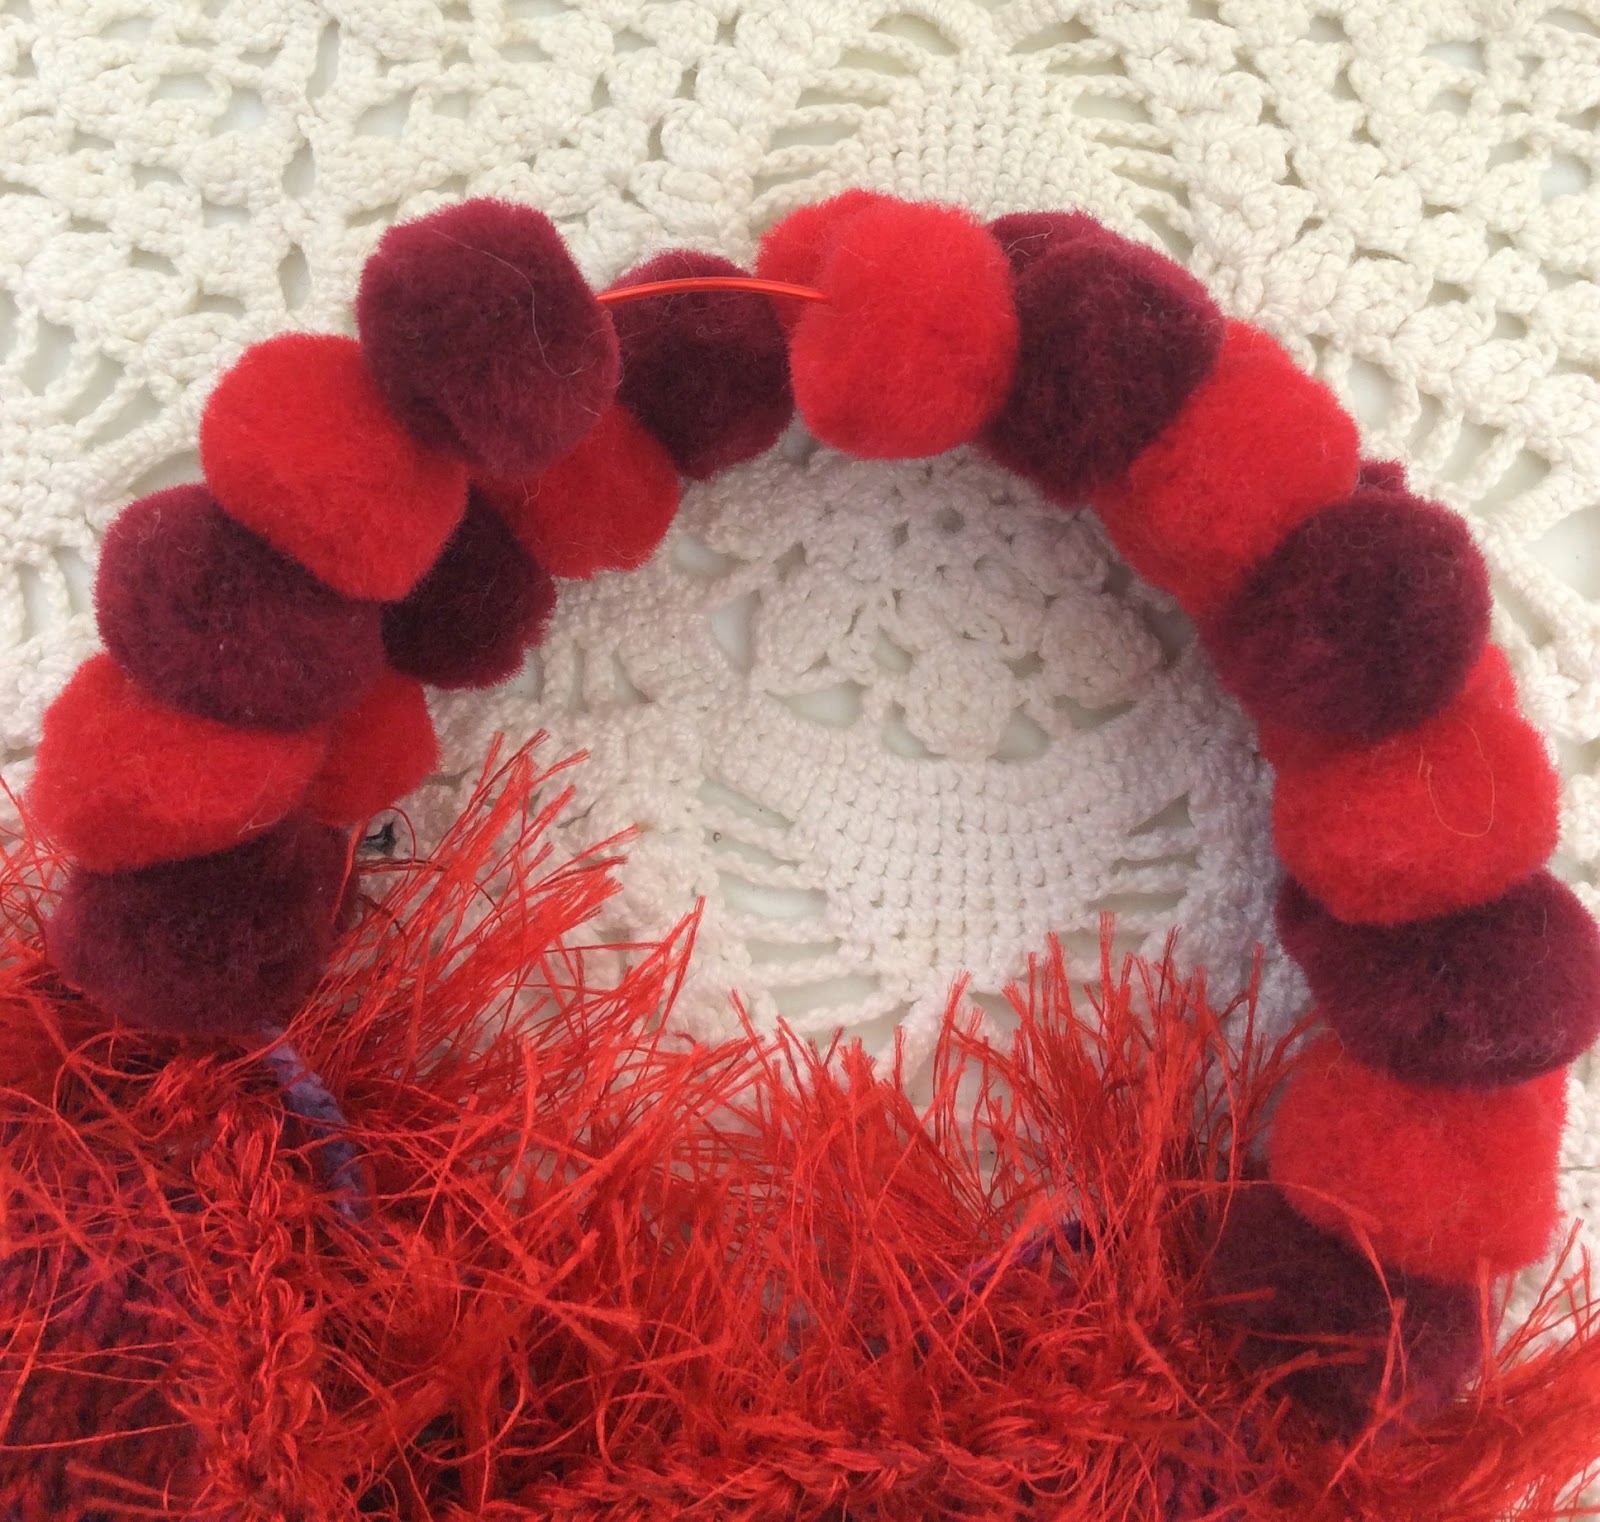
 So just in case you happen to have a big a** manicure-not to worry making pom poms is a total snap with the big nails!
 Here the ottoman is "in progress" is anyone else having a "tribble flashback?"


