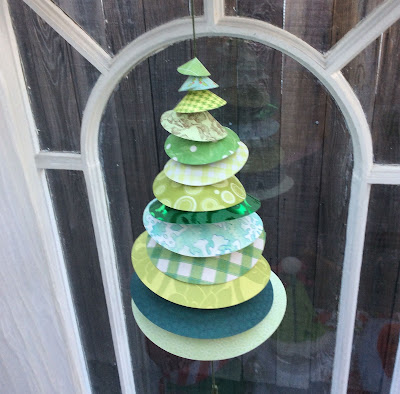
To make these two projects I used a variety of green scrapbook paper and Sizzix Framelits Plus set of 15 circle dies.
After I die cut all the circles I cut a slit in each one half way through the circle to the center.
Then placed it on a piece of thin green yarn and glued the circle flaps together forming a slight cone shape.
You can adjust the cone shapes as narrow or wide as you like and space them close together or far apart to make your hanging paper cone Christmas tree any shape you like.
With the "leftover" outside circle shapes I glued them together with the largest on top and working through to the smallest underneath.
I placed a cute photo of my nephew in the final circle.
Then I trimmed up the top page to a square and glued it onto a 12 x 12 piece of scrapbook paper.
To hang up my concentric circle photo frame I clipped it into a vintage wood clip hanger.
I hope you have enjoyed my twofer circle die cut project and you'll give them a try!


No comments:
Post a Comment