Showing posts with label Christmas Tree. Show all posts

Wednesday, November 30, 2016

Circle die cut paper Christmas tree and frame

sizzix die cut circle christmas tree, paper christmas tree, circle scrapbook paper frame, stefanie Girard, die cut crafts
I like using both the interior and exterior of the things I die cut and today I have a post that features two projects- one that uses the inside of the circle die cuts - A hanging Christmas tree and another that uses the outside of the circle die cuts - A photo frame.

To make these two projects I used a variety of green scrapbook paper and Sizzix Framelits Plus set of 15 circle dies.
sizzix die cut circle christmas tree, paper christmas tree, circle scrapbook paper frame, stefanie Girard, die cut crafts
After I die cut all the circles I cut a slit in each one half way through the circle to the center.

Then placed it on a piece of thin green yarn and glued the circle flaps together forming a slight cone shape. 

You can adjust the cone shapes as narrow or wide as you like and space them close together or far apart to make your hanging paper cone Christmas tree any shape you like.
sizzix die cut circle christmas tree, paper christmas tree, circle scrapbook paper frame, stefanie Girard, die cut crafts

With the "leftover" outside circle shapes I glued them together with the largest on top and working through to the smallest underneath.

I placed a cute photo of my nephew in the final circle.

Then I trimmed up the top page to a square and glued it onto a 12 x 12 piece of scrapbook paper.

To hang up my concentric circle photo frame I clipped it into a vintage wood clip hanger.
sizzix die cut circle christmas tree, paper christmas tree, circle scrapbook paper frame, stefanie Girard, die cut crafts
 I hope you have enjoyed my twofer circle die cut project and you'll give them a try!

Tuesday, December 8, 2015

A sketch book cut into a star shape is the perfect topper for a stack of green books Christmas tree

My books are not only a wealth of information and inspiration they are a creative material as well. I gathered up all my green ones to make this Christmas tree. I thought it would be fun to cut a sketch book into a star shape to top it off (I loved my letter cutting project that spelled out a word).

Cut book into shape with Dremel moto-saw, christmas Stefanie Girard, stack green books into Christmas tree
This is super easy to do with a Dremel Moto-Saw.

Cut book into shape with Dremel moto-saw, christmas Stefanie Girard
I printed out a star and wrapped it around the book and outlined the shape on the book.
Cut book into shape with Dremel moto-saw, christmas Stefanie Girard
I rough cut the book down to a small area around the star. I did this as it is easier to cut into each "v" of the star from the out side straight in.
I plan on cutting more books into fun shapes in the new year.  Try it!

Friday, December 4, 2015

How to make a Vintage Hankie and chicken wire Christmas tree

Today's "stash craft" features my collection of vintage hankies displayed on a cone of chicken wire to form a Christmas tree. It was so easy to make and will be easy to take down.
Vintage hankie Christmas tree chicken wire Stefanie Girard
Materials and Tools
M-D Hobby and Craft Chicken Wire
Vintage Hankies or these reproduction vintage style hankies
or these vintage look hankies 
binder clips
Tree topper- I used a dove with a clip base

Vintage hankie Christmas tree chicken wire Stefanie Girard
I wrapped the chicken wire into a cone shape and secured it with binder clips. The cut ends I bent back onto the overlapped areas of chicken wire to further secure.
Then all that is left to do is gather each hankie by the center and poke it into the spaces starting at the bottom and working up to the top point.
I clipped a dove onto the top of the Christmas tree with a hankie covering all the chicken wire.

When Christmas is over you can simply disassemble and use your vintage hankies for another project.

Sunday, November 11, 2012

Toy soldier army men Christmas tree


In honor of Veterans Day I thought it would be appropriate to share my first Christmas tree of 2012. I scored these super sized army men at the 99 cents only store and I thought them being green and all they would make a great Christmas tree. I've made a lot of things with the standard size army men but this is my first with these big ones. All I did was stack a few cake plates and a candle stick and arrange them on each level.

Thanks again to all who've served!

Sunday, December 18, 2011

Christmas tree ornament chain link fence decoration

Back at 4th July time I made an American flag with Christmas ornaments on my chain link gate well did you think I would let my gate go unadorned at Christmas? No sir-e!

Craftside-A behind-the-scenes peek at our crafty world
This week at Craftside there is a double giveaway featuring books and Styrofoam shapes along with tutorials and patterns for Christmas painting and knitting along with a recipe for vegan nut butter dip and some adorable photos of our newest Amineko.

Rock Paper Ink

Until Covered in Ink Do Us Part

Lindsay Sews
With the holiday ornament swap complete, you can check out photos of the lovely handmade ornaments--including bacon!

Margot Potter The Impatient Crafter
Madge turns some styrofoam and sparkly things into a Retrofabulous Suzy Snowflake Snowlady!

Margot Potter The Impatient Crafter
Madge turns some styrofoam and sparkly things into a Retrofabulous Suzy Snowflake Snowlady!

Stefanie Girard's Sweater Surgery
How to make a yarn ball and dpn Christmas tree.

Aileen's Musings
Aileen shows you how she took pre made cards and embellished them to make her own Christmas cards she mailed out this year..

Carmi's Art/Life World
Carmi enters the Friendship Bracelet world and learns a thing or two.

Craft Buds
Turn that old wool sweater into a personalized keepsake. Learn how to make a monogram sweater ornament, embellished with jingle bells.

Craft. You.
Meet Jenny Barnett-Rohrs of Craft Test Dummies this week on Craft. You.!

Crafty Princess Diaries
Tammy is able to spill the beans about a new jewelry business adventure she is exploring.

Eileen - The Artful Crafter
"Santa Claus is coming to town." Are you ready for The Artful Crafter's annual Christmas Parade of Crafts?

Thursday, December 15, 2011

Rorschach's new Christmas sweater and his yarn ball Christmas tree

Rorschach Amineko got a wonderful Christmas sweater from one of our best friends. I think he looks positively adorable in it. I mean really don't all cats look cute in sweaters, especially crazy Christmas ones! Here he is posing in front of his favorite Christmas tree in the house.

It's made from his mom's stash of green balls of yarn and dpns (double pointed needles). All I did was make a base of yarn and then stack each layer on top of the first securing the balls with the dpns.

And it seemed appropriate to top off this yarn ball tree with a tiny knit sweater.

I do love using my craft supplies in their natural state to make decorations. It will be super easy to dismantle and store back in the boxes as nothing was damaged. If you need to make yourself an Amineko check out this post that features the book I used to make Roy.

Monday, November 28, 2011

How to make a recycled sweater Christmas tree from Sizzix die cut flowers

My Christmas mugs gaze adoringly at the latest recycled sweater Christmas tree to join the forest. This one had it's inspiration during the same craft show that the recycled sweater flower pumpkin did.
It's super easy to make. I die cut all the different sizes and shapes of Sizzix flowers I had out of all different shades of green recycled wool felted sweaters. I then stacked them up from biggest to smallest mixing up the shapes and colors.

I ran a bit of floral wire bent in half like a bobby pin from the top to the bottom and twisted it to secure the layers. Then I simply attached the bead with a silver tipped straight pin.

Wednesday, December 1, 2010

Recycled Sweater Christmas trees...or hats? Inspired by Nicky Epstein's Knitting Block by Block

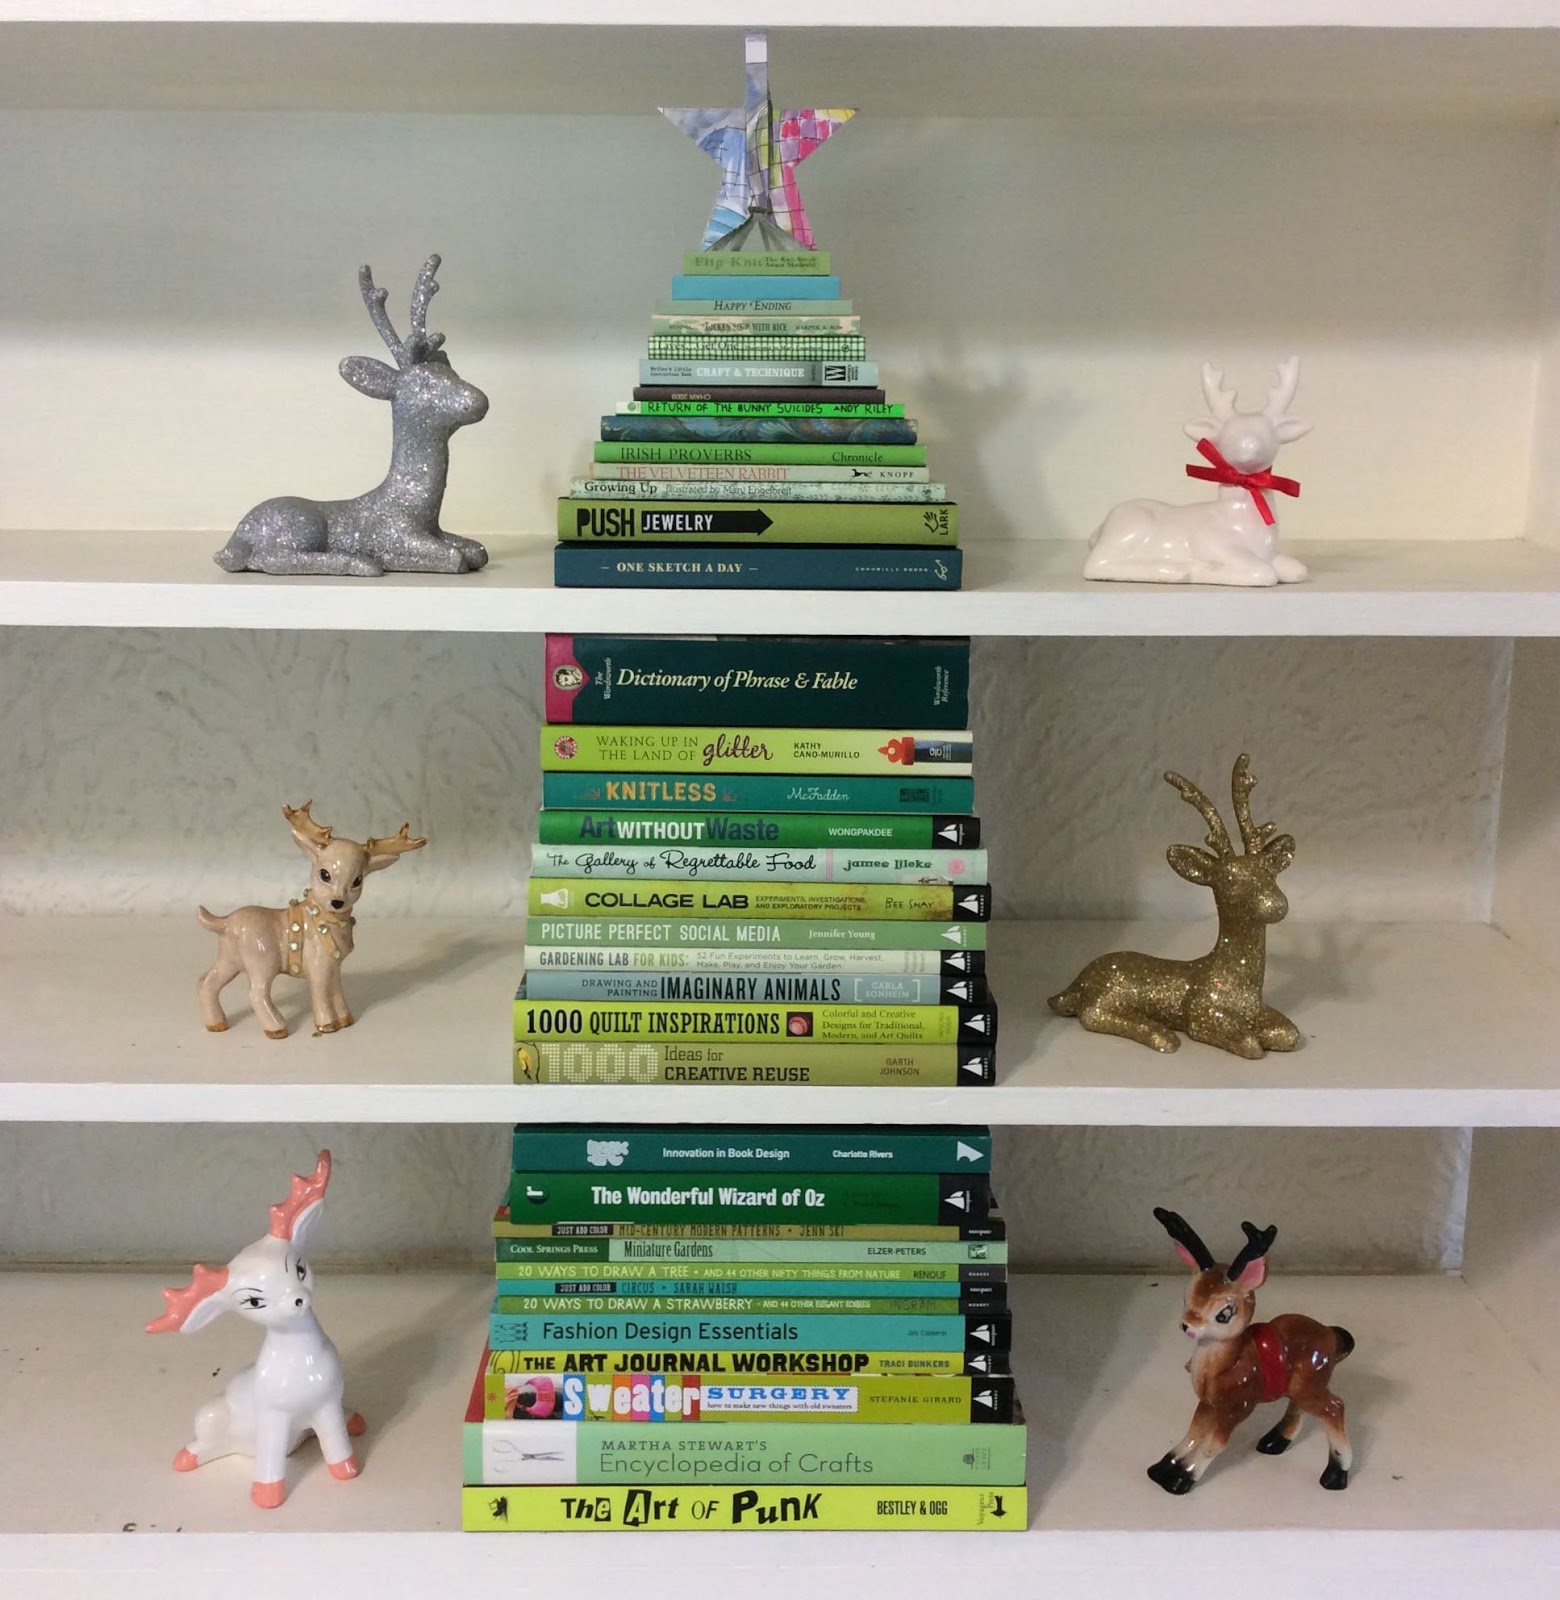
I make a bunch of Christmas trees every year and this year's group is inspired by one of my all time favorite knitting designers-Nicky Epstein and her latest book of absolutely amazing eye candy bits in the form of knit goodness-Knitting Block by Block: 150 Blocks for Sweaters, Scarves, Bags, Toys, Afghans, and More! How you say that a book on knitted blocks do I come away with inspiration to make Christmas trees? I will tell you. The spectacular details and dimensional textures in the book make me think of all sorts of objects and with my stash of sweaters I can grab the scissors and I am off and crafting. That's not to say the knitting needles aren't going to see some action soon too.
Today I have my Recycled Sweater Christmas tree tutorial for you.
First I made some cardboard cones with some recycled shipping envelopes and cereal boxes and Duct tape.
From the sweater stash I found a sweater that had a similar rolled edge as my inspiration swirl block from Knitting Block by Block. This is where the idea came from. The circling around ruffle made me think of a Christmas tree.
All that was left to do was hot glue the sweater edge strips to the cardboard cone starting at the bottom and working up. I liked the first one so much I went back to the stash and made 2 more with more green striped sweaters. The little top curved over part just happened and I decided to leave it.

The other unintended tree came from all the cool zipper crafts that are around now, one of my sweaters had a green zipper so I seam ripped it out and popped it on a cardboard cone too.

If you like lots (150) of knitting patterns and textures along with the great concept of working modularly in blocks you will LOVE this book! I will be savoring mine!
Knitting Block by Block: 150 Blocks for Sweaters, Scarves, Bags, Toys, Afghans, and More

by

Nicky Epstein

More about the book from the publisher- Potter Craft:

"Create gorgeous sweaters, bags, afghans, and toys just by knitting the simplest of shapes—a square!

No one forgets the sweet victory of completing their first knitted block, but most of us quickly move on to more complex constructions, only making swatches for guage. In this comprehensive volume, celebrated designer and innovator Nicky Epstein reimagines the humble block with 150 new patterns and masterfully demonstrates how to mix, match, and easily combine them into stunning one-of-a-kind garments and accessories.

Inside you will find:
  • 150 original block patterns, from simple textures to embossed pictorials, intricate lace to cables, colorwork, double knit, and more, all with Nicky’s signature wit, verve, and style.
  • More than ten exclusive project designs that will make you say “I can’t believe that is made out of blocks!”
  • Detailed guidance for creating exciting pieces out of block knitting, without using increases or decreases.
  • Exclusive cut-and-paste project design pages. Simply cut out the printed blocks and arrange them to help create your own masterpieces.

Blocks are quick to knit, portable pieces perfect for group and charity projects, and now not limited to just afghans! Knitting Block by Block gives you the tools to unlock a world of creative possibilities and confidently build your own design “blockbusters,” one block at a time.

Beloved knitwear designer NICKY EPSTEIN is the bestselling author of numerous books, including Knitting on Top of the World, Knitting on the Edge, and Knitting a Kiss in Every Stitch. Her designs have also been featured in Vogue Knitting magazine and many other knitting publications, on television, and at art exhibitions. She currently resides in New York City and travels extensively, teaching and lecturing. "

Wednesday, November 11, 2009

Sweater Surgery Light up Christmas tree inspired by The Lampshade Lady's Guide to Lighting Up Your Life

Two of my favorite things, making decorations and lighting. Well, I was flipping though The Lampshade Lady's Guide to Lighting Up Your Life and there were all sorts of cool lampshade and lamp base projects. I just got my front Christmas lights up (yup I did, and I'm not the first one in the hood either) so I have holiday lighting on the brain. I had just scored (aka garbage picked) a whole bunch of tomato cages that I planed on making yard Christmas trees out of and they look a lot like lamp shade frames. So you see where this is going?
My first question was what can I cover the framework with?

(insert Final Jeopardy music here)

A recycled sweater of course, that's what I cover everything with!

Off to the stash and I landed on one of the remnants of a sweater from one of the projects from Sweater Surgery. Oh and I should mention it's going into it's third printing! Whoo hoo!


I used just the sleeves to make this lace up the back shrug so I had the main body of the sweater left, perfect.
I stitched up the top (neck opening) and the sleeves.
I taped the top points of the tomato cage together and loosely taped the Christmas lights onto the tomato cage.
Then I slipped the sweater over the cage and poked the lights through the sweater.
A bow (plaid of course) was added to the top.

DISCLAIMER! If you try this- don't leave it on unattended, I will be watching mine closely as I am not sure how the lights will be with the sweater. I think these little lights should be totally safe but I have not safety tested all fiber contents of sweaters with tiny Christmas lights!

So do you want to light up your life and looking to craft of some shades and bases? Check out this idea and technique filled book:
The Lampshade Lady's Guide to Lighting Up Your Life: 50 Custom Lampshades and Lamps
By
Judy Lake

From the Publisher:

They Call Her The Lampshade Lady When Judy Lake turns on a lamp, she doesn’t just light up a room, she brings it to life. And with her help, you can too. Turn those boring old lampshades into perfect accents for your home decor. If you can cut and glue, you can renew and revive old shades, dress up flea market fabrics, and transform inexpensive basic frames into inspired designs that complement your home, style, and personality. From nightlights to table and floor lamps, sconces, and even chandeliers, The Lampshade Lady's Guide to Lighting Up Your Life will forever change the way you look at lampshades. The Lampshade Lady shows you the basics of construction and gives you the skills and confidence necessary to let your imagination run wild. Materials like vintage postcards, classic children’s books, baseball cards, heirloom photos, fabric, trim, and even simple embroidery thread produce surprising and delightful opportunities for creativity. From the stately Antique Map Shade to the charming Mama’s Pretty Apron Shade to the To-Die-For French Fabric Shade, these fifty projects are sure to make you look at every lampshade in your home as a chance to create and re-create–all without breaking your budget. Plus, you’ll learn how to make your own lamps out of even more thrifty finds like candlesticks, kerosene lamps, cowboy boots, and just about anything you can run a wire through. Discover how the Lampshade Lady’s designs and ideas really will light up your life.

It did mine!

Bookmark and Share

Wednesday, December 24, 2008

Giant Christmas Tree With an Airstream


OK peeps-did you catch my post over at Craftside of the giant spider web I did for Halloween?
Well I just couldn't take it down, I love it so much! But, well, it's Christmas so what's a girl to do?
Why turn it into a giant Christmas tree!

These are more shots of it at night-which is just spectacular! We have been bundling up and sipping hot chocolate and hangin' out under it a lot!
It was so easy! I simply put a pole in the middle to hoist it up into a point in the center. Then all that was left ot do was decorate with lights, sparkly garland and ornaments.
That bright light is the full moon!

Friday, November 30, 2007

Paperback Book Folded Christmas Tree


Here is a classic craft project- the paperback book folded Christmas tree. I used to make these when I was a kid and loved it. Sometimes I can really get into the repetition of a project, same thing that is nice about knitting and cross stitch.

You simply fold each top corner of the page over at an angle so the top edge of the book meets the inner binding and then the bottom corner up at an angle so that the side edge meets the bottom edge of the top folded section. This forms the side point. I spray painted this one silver. If you make one send me a link or a picture, I would love to see what else is possible!

Monday, November 26, 2007

Knitted Christmas Tree


Last year when we were in production on Knitty Gritty we produced an episode with Debbie Brisson of The Museum of Kitschy Stitches and Marnie Maclean

They made some kitschy projects inspired by the classic granny square. Very innovative and fun.

The pattern for the tree is here by Maryse Roudier


To see Debbie and Marnie's fabulous episode check out the Knitty Gritty schedule:
http://www.diynetwork.com/diy/shows_dkng/episode/0,2046,DIY_18180_49948,00.html

Here is the project Debbie did and I of course added the "optional" sleeves.
Thanks Debbie!

Friday, November 23, 2007

The first Christmas Tree is up!


Last year I was working so much I had no time to decorate for Christmas. So this year I am compensating, OK overcompensating! This is the first tree up sent to me by my Mom. Yes, it is black and yes, those are tiny penguins! No, my Mom is not weird, she has though learned to be a Mom of a weird daughter! Go Mom.
Blog Widget by LinkWithin