


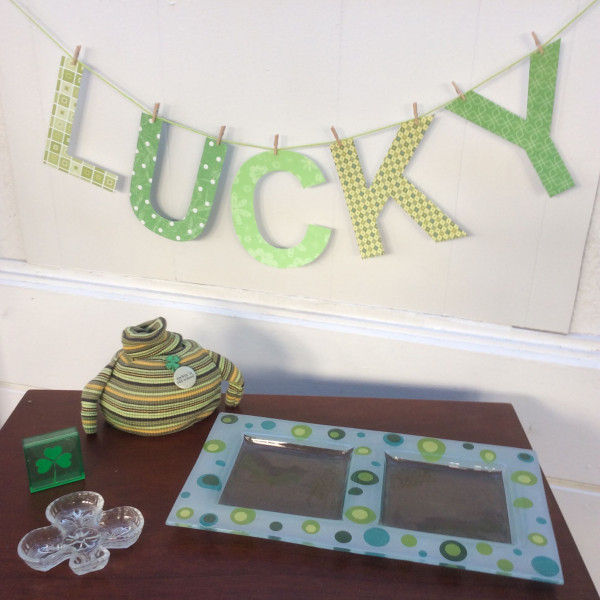
Don't you feel "Lucky" when you are crafting and you get two items out of one action? I love it and that's just what you get when you die cut these letters out of rectangles of pretty green pattern papers to make a St. Patrick's Day banner.
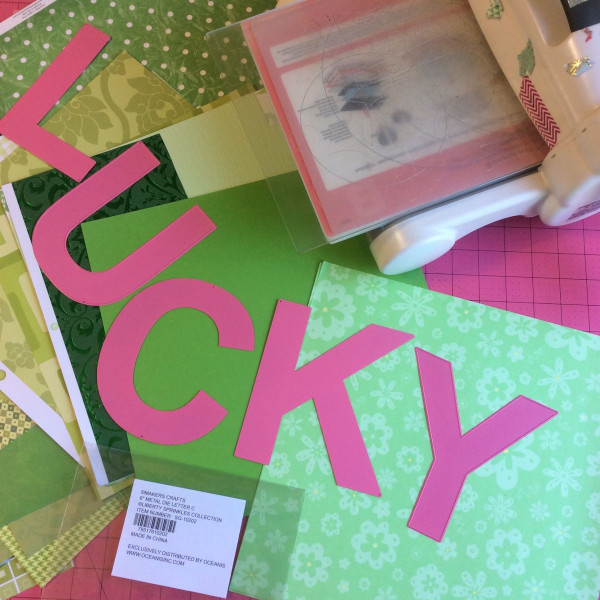
Gather up your green printed papers.

Then lay out the Lucky 6 inch die cut letters in the order you want the prints to be.
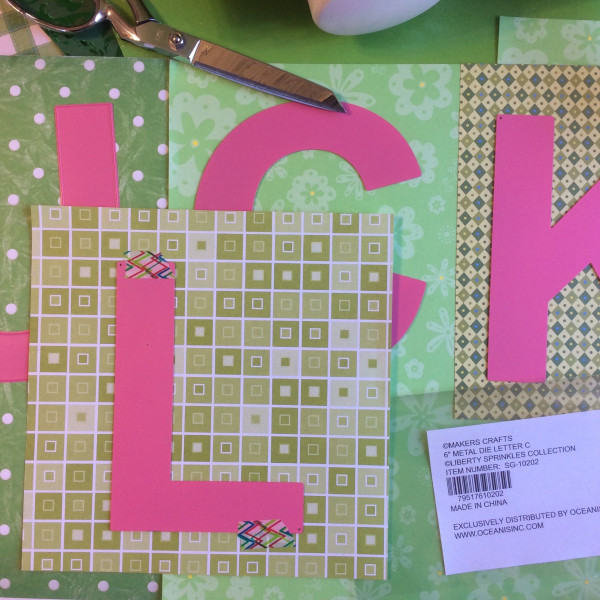
I trimmed down each paper to a rectangle and then die cut each 6 inch banner letter centered in the rectangle. This is where you get the second bonus letter to use the negative die cut for another project. I will post the first of those designs tomorrow so be sure to come on back!
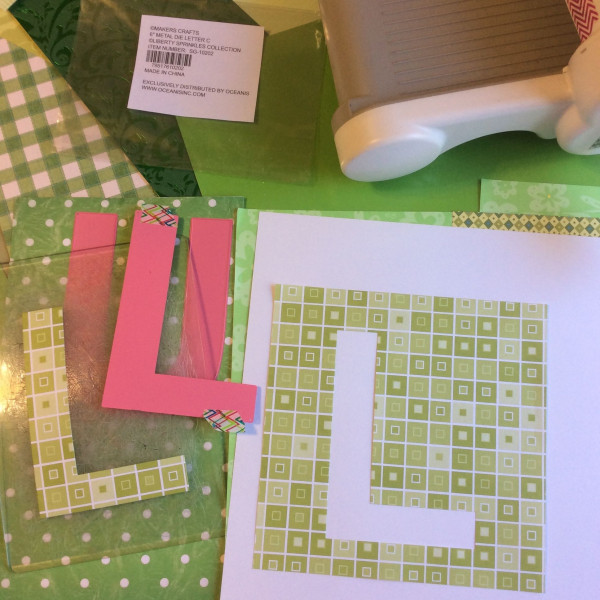
I use a bit of washi tape to secure the large alphabet die exactly where I want it cut out on the page.
Then I simply used tiny clothes pins on a length of green cotton yarn to hang the big die cut Lucky letters.
If you were wondering- that is my pet rock in a recycled turtleneck sweater I made. The pin says, "Rockin' it old school" (pun intended) I also added a fun shamrock button to the sweater to add a bit more St. Patrick's Day fun to my display.


No comments:
Post a Comment